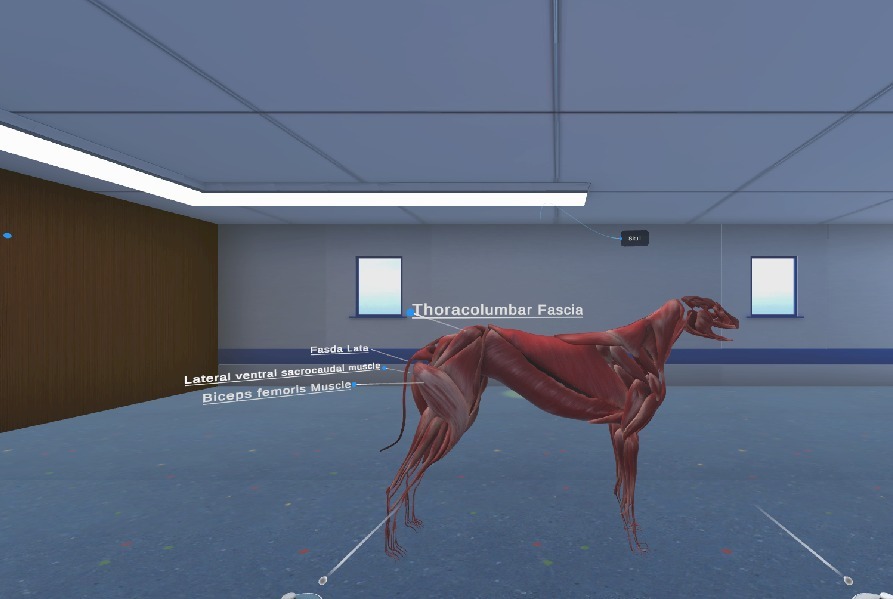
Veterinary Canine Simulation
Turning a complex canine anatomical model into an interactive, multi-layered learning experience through 3D exploration, part-level interaction, and guided anatomical visualization.
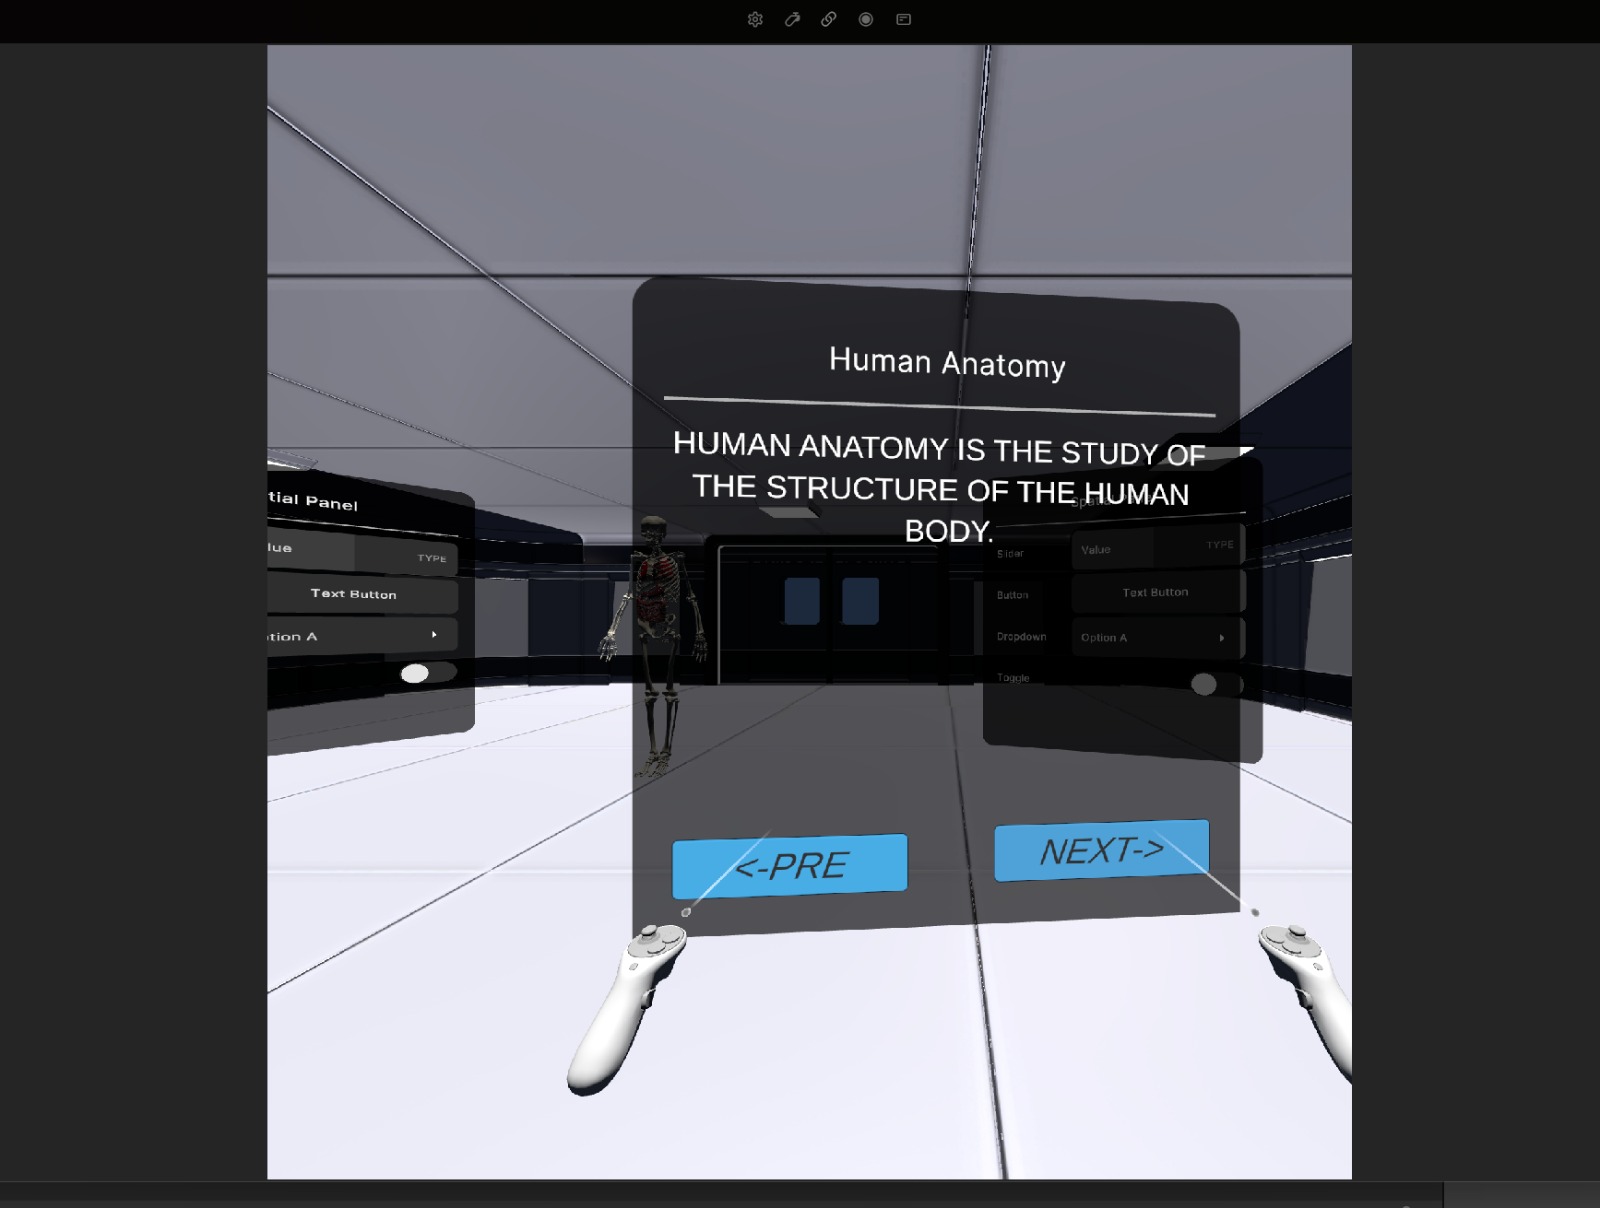
VR interface and module navigation.
Unity Editor footage — anatomical structures being selected during scene development.
The Spark
Veterinary anatomy involves understanding how bones, muscles, nerves, blood vessels, and organs relate to one another within a complex three-dimensional structure. We wanted to make that learning process more interactive by allowing learners to explore a canine model beyond what traditional diagrams and static references could offer.
Developed under Ram XR, a startup initiative established by our college seniors at the College Incubation Hub, the project brought together a team of interns to build an immersive veterinary anatomy simulation from 3D assets to interactive VR experiences.
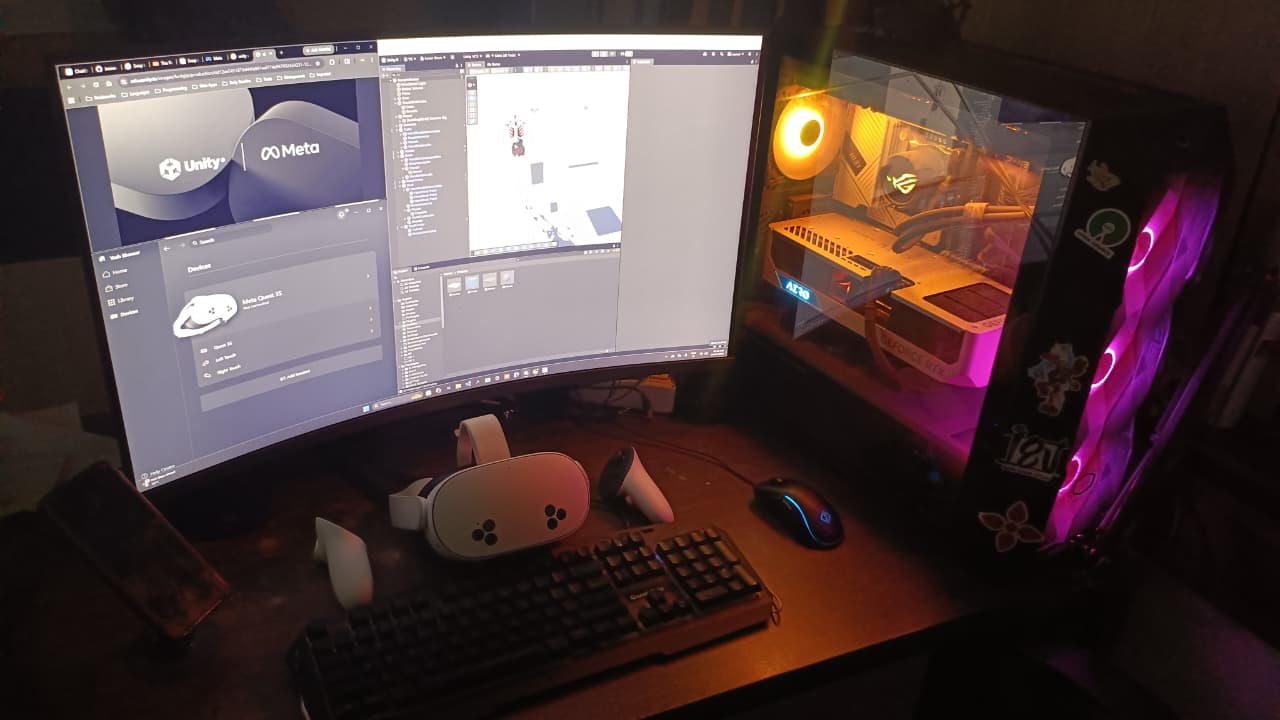
Project Brief
Veterinary Canine Simulation is a VR-based anatomy learning experience designed to help learners study the canine body through interactive 3D anatomical models.
The experience organizes the canine anatomy into six modules, each offering three learning modes. Learners can isolate and inspect individual anatomical structures, navigate major parts through labels, or follow a guided visualization of important components.
Six anatomical modules
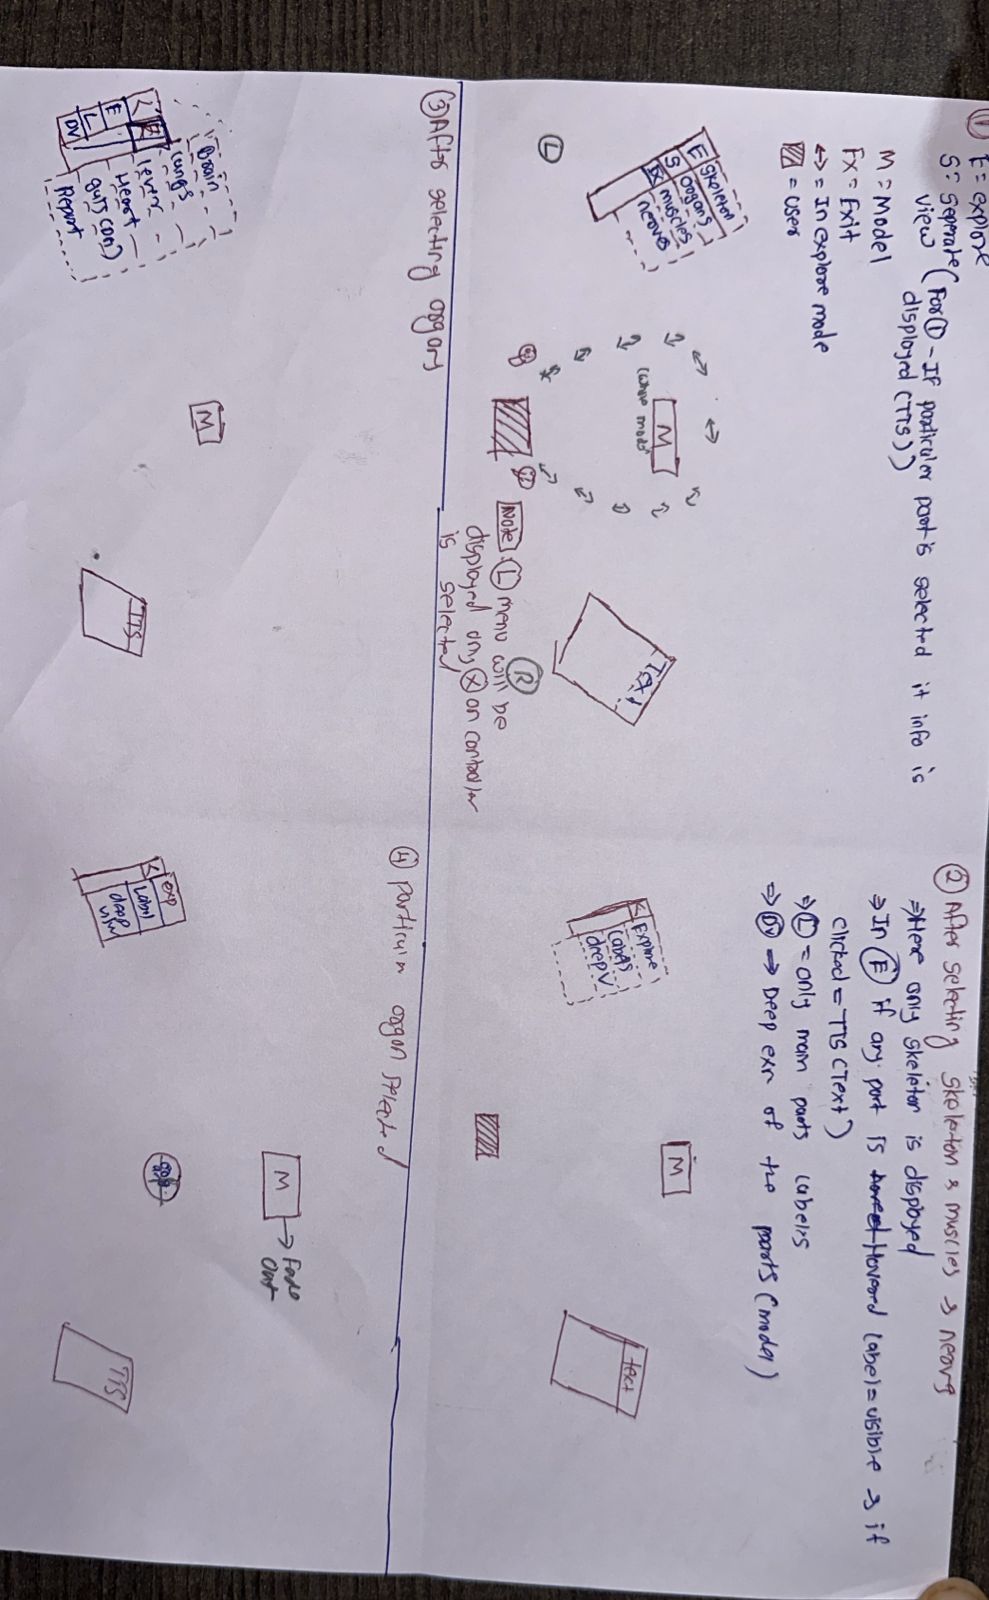
Three learning modes
- Explore — Learn through interaction: Learners can hover over anatomical parts to reveal labels and visual highlighting. They can grab and move components away from the model, inspect their information in a side panel, and release them to return them toward their original positions. Text-to-speech (TTS) reads the selected part's information aloud.
- Labels — Learn through identification: Major anatomical structures are labeled directly within the 3D environment, helping learners identify important parts and understand their locations on the model.
- Deep Vision — Learn through guided visualization: Major anatomical parts are presented individually through a guided sequence. Each part moves forward into focus, receives a subtle animation such as rotation or translation, and is accompanied by explanatory information on a front-facing UI panel and TTS narration. The part then returns to its original position before the sequence continues.
Core learning loop
Select a module → Choose a learning mode → Explore or identify anatomical structures → Read or listen to explanations → Move to the next structure.
Intended audience
Veterinary students, learners studying canine anatomy, and veterinary educators and training institutions.
Platform
Virtual reality, using tracked VR controllers and an in-world user interface.
My Role & Responsibilities
Role: Unity Development Lead Intern · Technical Integration · Team Coordination
I was one of six interns working under two cofounders. As the intern with the most Unity experience, I led the intern team on the Unity side, helped define the implementation pipeline, distributed work, explained deliverables, and guided team members as they learned the tools.
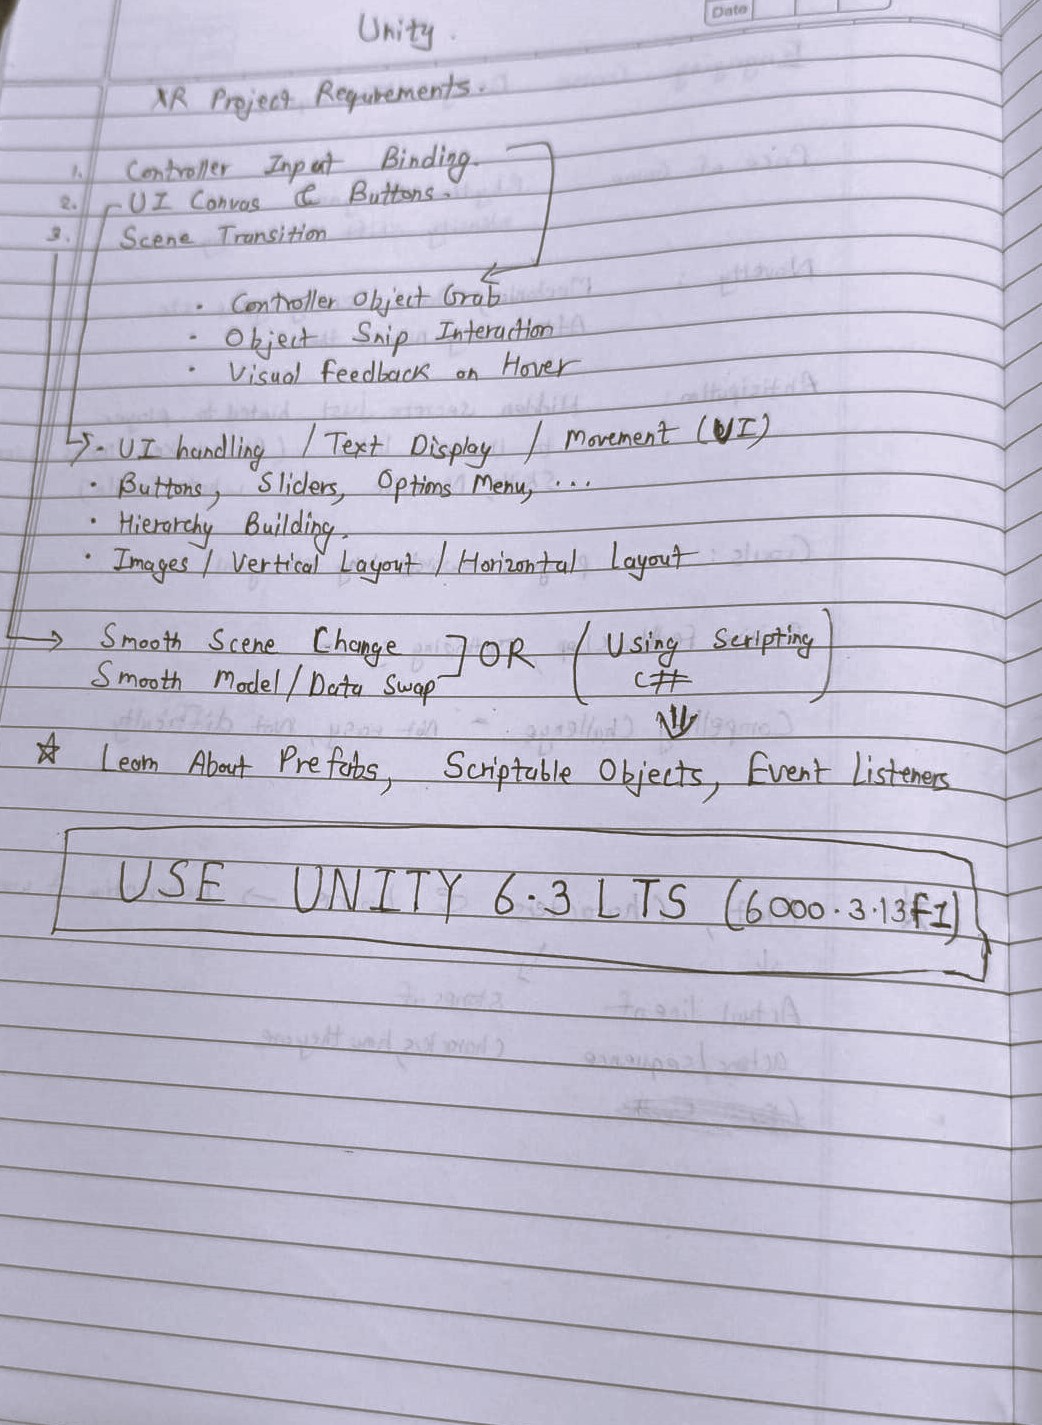
My primary responsibilities
- Unity interaction systems: Attaching and configuring the grabbable, interactable, and snap-back components across the anatomical objects so learners could manipulate individual structures.
- Scene and environment setup: Setting up the Unity scene, lighting, environment, and presentation of the anatomical models.
- Technical pipeline planning: Breaking the project into parallel workstreams so Blender asset preparation, Unity interactions, labels, UI, and anatomical information could be developed concurrently and assembled later.
- Integration and assembly: Bringing the outputs from different team members together into a consistent, working Unity experience.
- Git and GitHub collaboration: Managing work across six team-member remotes, fetching and merging changes, resolving conflicts, and addressing integration issues.
- Team guidance: Helping Unity interns understand their assigned deliverables, implementation steps, and how their work fitted into the complete simulation.
Team structure
Project leadership
Unity team
Blender team
The Blender team worked on separating the anatomical model into individual structures. The Unity team implemented the interactive learning experience around those assets.
Development Process
Anatomical Asset Preparation
We started with a pre-built canine 3D model sourced from Sketchfab, which contained five anatomical layers: skin, muscles, skeleton, nerves, and organs.
The Blender team was responsible for separating the relevant structures into individual bones, muscles, vessels, nerves, and organs. This asset preparation was essential because the Unity interaction system needed each anatomical part to be independently selectable and manipulable.
The resulting assets were then brought into Unity for scene assembly and interaction setup.
Interactive Anatomy System
My main implementation responsibility was configuring the anatomical objects for interaction.
Each applicable part needed to support grabbing, interaction, and returning toward its original position after release. These behaviors formed the foundation of Explore mode, where learners could isolate structures instead of being restricted to viewing the complete model.
The object setup had to be applied consistently across a large number of anatomical parts and across multiple modules.
UI/UX and Information Architecture
The interface was organized around three primary UI areas:
Komal handled anatomical labels, while Janhavi developed the UI screens, TTS integration, and ScriptableObject-based anatomical information. This division allowed the team to build different parts of the experience in parallel.
Guided Visualization and Audio
Deep Vision was designed to provide a more structured learning experience than free exploration.
Instead of requiring the learner to find and select every structure, the experience brings major parts forward one at a time, displays their information, provides spoken explanations, and uses subtle movement to draw attention to the anatomy being discussed.
The intended result was a guided, three-dimensional teaching sequence rather than a conventional flat presentation.
Integration and Version Control
Parallel development introduced an additional challenge: independently developed assets, UI, labels, and interaction setups needed to work together inside the same Unity project.
I used Git and GitHub to coordinate changes across six team-member remotes, fetch and merge contributions, resolve conflicts, and assemble the different workstreams.
I also handled the Unity environment and lighting setup, then integrated the team's work into the simulation. This integration stage was critical because the quality of the final experience depended not just on individual features working in isolation, but on those features working consistently across the anatomy modules.
Results
The team assembled the separated canine anatomy assets into a Unity-based VR environment, with individual anatomical structures prepared for interaction and multiple learning modes designed around the same underlying model.
The available development footage demonstrates the VR interface and module navigation, while the Unity Editor footage shows individual anatomical structures being selected during scene development.
Evidence from the build
The initial VR interface establishes the in-world presentation style, including the introductory information panel and navigation controls.
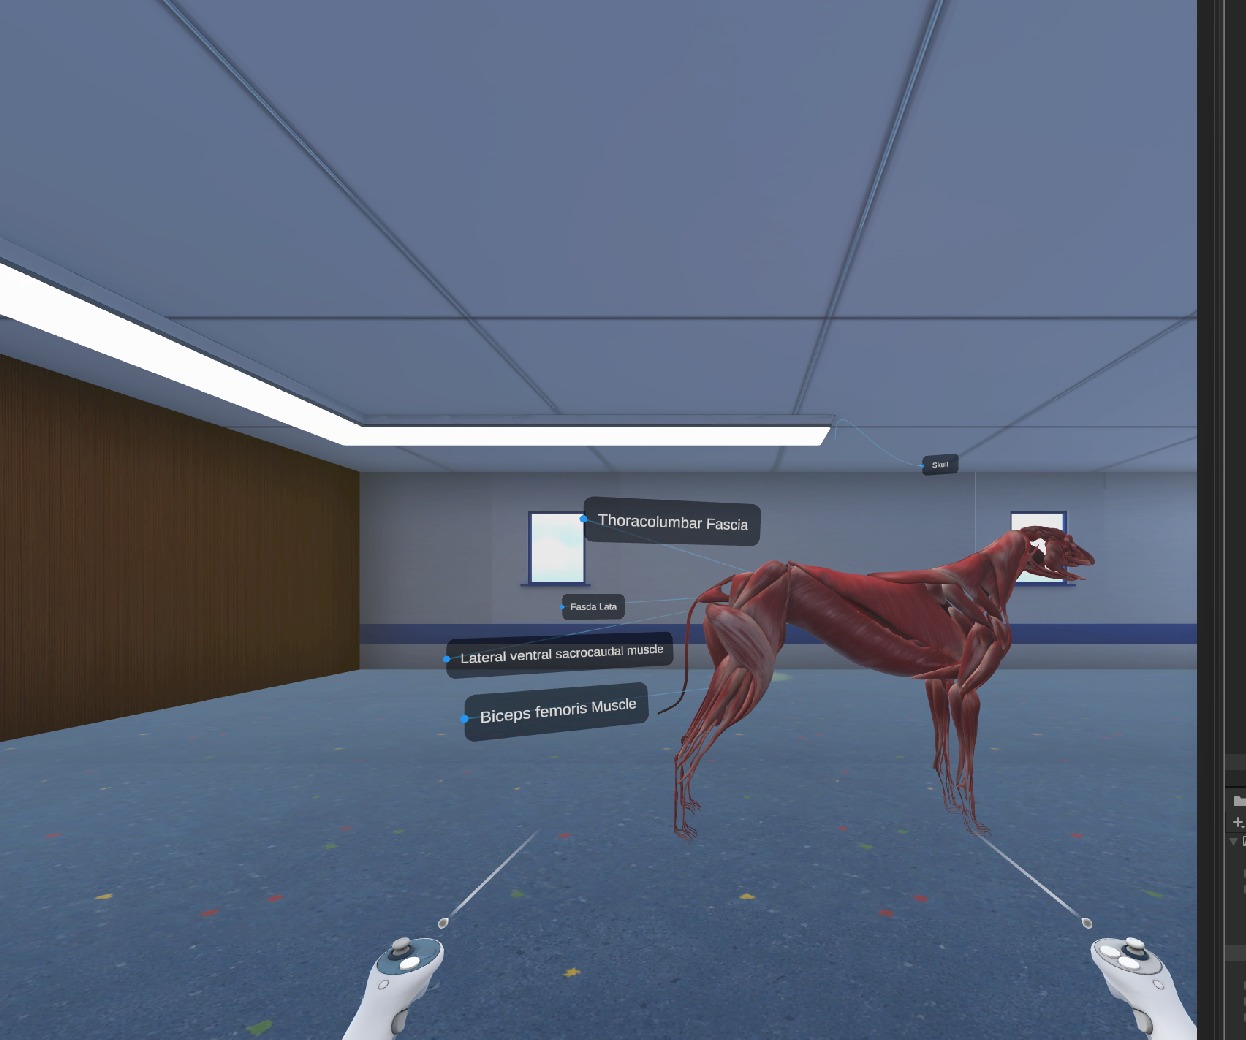
The muscle model demonstrates the intended part-level identification experience, with a VR hand controller grabbing and inspecting an isolated muscle structure in the Unity Editor.
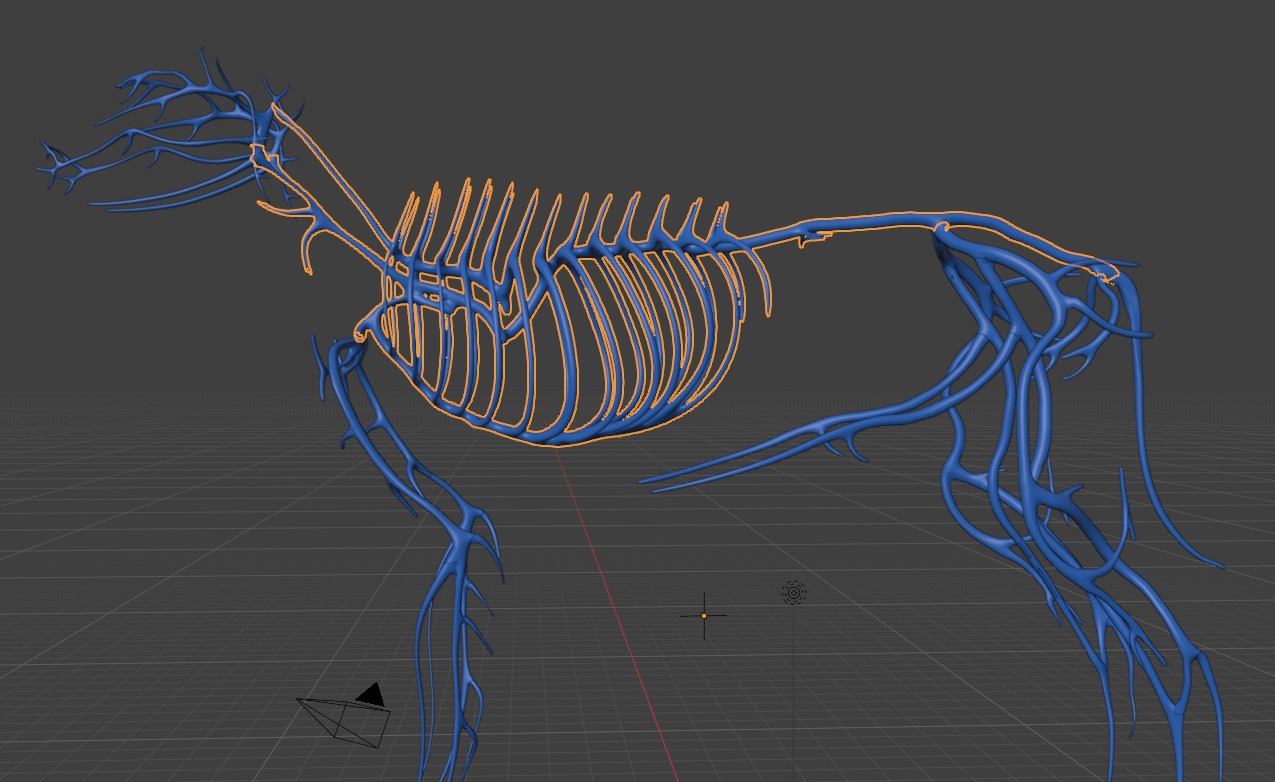
The separated vein structures, shown here in wireframe, illustrate the asset-preparation work needed to support independent anatomical inspection across modules.
Functional outcomes
- Six anatomical modules were defined around the canine body's major structures.
- Three learning modes were designed for each module: Explore, Labels, and Deep Vision.
- The Unity workflow incorporated object interaction, labels, information panels, and guided anatomical presentation.
- UI, anatomy preparation, and interaction implementation were divided into parallel team workstreams.
- Git and GitHub were used to integrate contributions from multiple team members.
The simulation was substantially developed, but I do not currently have the final project walkthrough or verified completion metrics. The outcomes above describe the implemented workflow and documented project scope, not independently measured educational impact.
Retrospective
This project reinforced that building a large interactive 3D learning experience is as much a pipeline and coordination problem as it is a programming task.
Separating the work into parallel tracks helped the team make progress despite most members being new to Unity or Blender. However, parallel development only works when deliverables, object naming, interaction requirements, and integration expectations are clearly defined.
I also gained practical experience managing Git collaboration across multiple contributors, particularly fetching and merging work, resolving conflicts, and assembling independently developed features into a shared Unity project.
I would establish stricter asset naming conventions, component setup standards, and automated validation earlier in development. With many individual anatomical objects, manual setup and integration can become repetitive and error-prone.
I would also introduce earlier end-to-end testing across all six modules and three learning modes, rather than relying primarily on assembling individual workstreams toward the end. Finally, I would plan a formal user-testing and analytics phase to evaluate whether the interaction and guided visualization actually improve anatomical understanding.
The main takeaway: A scalable interactive anatomy experience requires more than detailed 3D models. It requires a repeatable asset pipeline, consistent interaction behavior, structured information, and disciplined integration across the entire team.